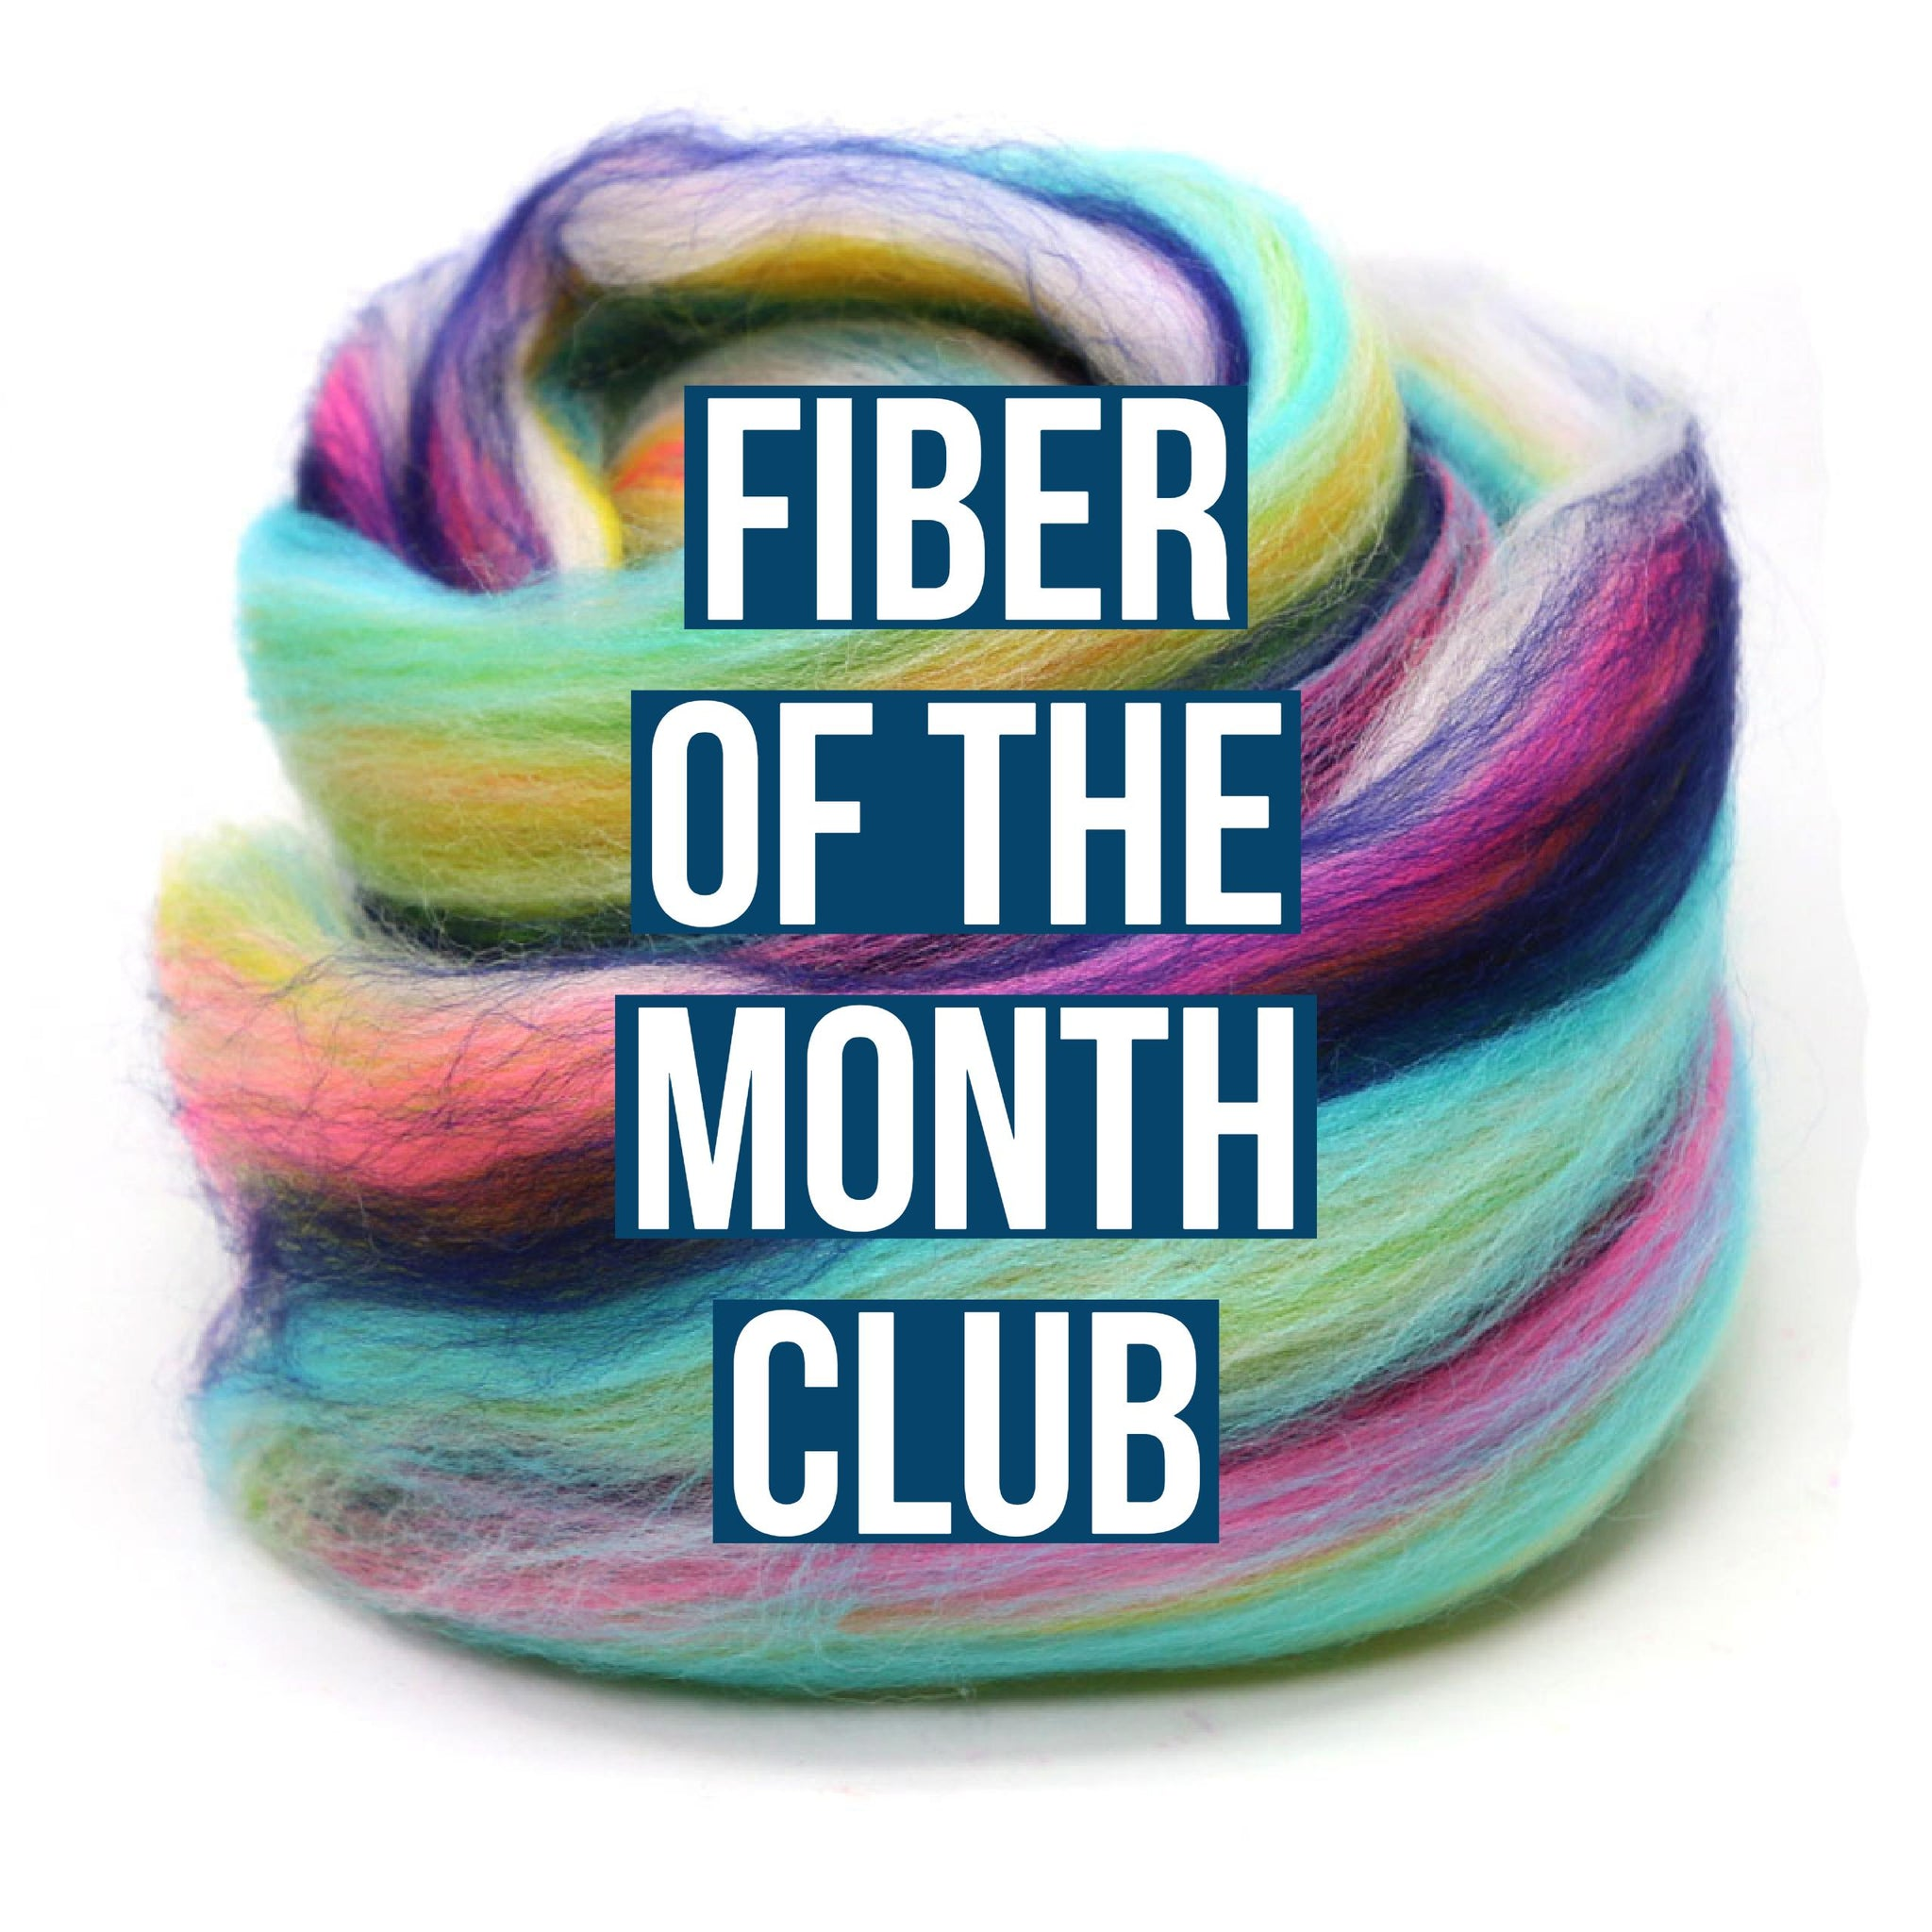
Fiber of the Month Administrator: Ann Marie
Need to contact her? Email here
Fiber of the Month is a member subscription activity. For an additional nominal fee in August members receive fiber every month. Each year is different. Some years we study different plant or animal fiber. Some years we study techniques, like this year. You are welcome to follow along here with your own fiber or join the guild!
NEW NEWS! We’re going to let everyone pick up January through August’s fiber at the January’s guild meeting. You’ll still get a monthly email for suggestions on how to spin that month’s fiber, but you’ll have all the fiber for the rest of the year.
If you’re not able to make it you can always have another guild member, family member, or friend pick it up for you– just give me a heads up that that’s the plan via email by 6 pm the day of guild meeting. If you miss the January guild meeting and no one can pick it up for you, you’ll still have an option to get all your fiber at other guild meetings after January.
WHAT TO DO EACH MONTH
AUGUST 2026
This month’s FOTM is spinning a fractal spin with African Violets
Divide you braid vertically into three roughly equal pieces. (I know this is tricky, but it does have to be divided vertically—it sometimes helps to fluff up the braid a little before dividing it vertically. Gently shake your braid out and gently pull the fibers apart horizontally to make your braid look wider so the fibers aren’t as compacted together.)
Spin your first third of the braid from one end to the other.
Take your second third of the braid and divide it in half vertically. Spin from one end to the other and repeat for the second half on a second bobbin. (You’ll have shorter color breaks than your first bobbin.
Take the final third of the braid and divide it vertically into 4 roughly even pieces. Once again spin from one end to the other for all the braids onto a third bobbin. (If what is the “top” of each braid get’s mixed up it’s not the end of the world, just spin them all in whatever order. But if you want to spin them at top to end in the same order it helps to tie a loose knot in the end of each piece so you know which is the “top” of each braid.) This bobbin will have the shortest color breaks of all the bobbins.
Ply all three bobbins together. You’ve done a fractal spin!
JULY 2026
This month’s FOTM is spinning Bubblegum and an Orchid braid.
Both Bubblegum and Orchid have at least one color that is the same or close to the same in the braid. This is a good trick to know what braids you can combine to have them look good spun together.
It can work even when one is a vertical braid (Orchid) and the other is space dyed (Bubblegum.)
For the final set of Bubblegum and the Orchid, try combo drafting the two colors together. (Here’s a video that you can review if you need a reminder: https://www.youtube.com/watch?v=HDDP4FUy3VA – she says do really thin. The guidance I was given when I was taught was to keep the two pieces about as thick as two fingers.) Ply your single when you’re done.
Notice how the two different braids actually work together pretty well by just using the same color in each of them to match them up?
JUNE 2026
This month’s FOTM is spinning Salmon Run and a Stormy Sky braid.
Both Salmon Run and Stormy Sky have at least one color that is the same or close to the same in the braid. This is a good trick to know what braids you can combine to have them look good spun together.
This month is simple. Spin the Salmon Run all the way and then spin Stormy Sky all the way. Ply the singles together for a barber pole look.
If you want to do a little more experimenting divide your braids in half vertically and spin one set of the Salmon Run and Stormy Sky thick and ply them together. Spin the two remaining braids thin and ply them together. (Fine will give you more of a heathered effect if you knit with it and thicker gives more of a tweed look.)
Notice how the two different braids actually work together pretty well by just using the same color in each of them to match them up?
MAY 2026-
This month’s FOTM is spinning orange and a yellow braid.
The suggestion is to split each braid into three parts so you have six braids: three of orange and three of the yellow.
Both orange and yellow are next to each other on the color wheel, this exercise can give you a sense of how side by side colors on the color wheel look when they are spun together. (Hint: this is usually a pretty harmonious look and doesn’t result in muddy colors.)
For the first braid, spin the orange all the way and then spin yellow all the way. Ply the singles together for a barber pole look. (You can spin fine or thick. Fine will give you more of a heathered effect if you knit with it and thicker gives more of a tweed look.) Ply the single on itself.
For the second set of orange and the yellow braids, try blending them together either with hand cards or by hand. If you need a reminder on blending colors without tools here’s a short tutorial on how to do this https://sweetgeorgiayarns.com/no-tools-no-problem-no-tool-fibre-preparation-for-spinners/#:~:text=Hold%20one%20end%20of%20the,or%20roll%20into%20a%20rolag. Just go to the “Batts & Rolags” section about halfway down the page. Spin the blended fiber and ply it when you’re done.
For the final set of orange and the yellow, try combo drafting the two colors together. (Here’s a video that you can review if you need a reminder: https://www.youtube.com/watch?v=HDDP4FUy3VA – she says do really thin. The guidance I was given when I was taught was to keep the two pieces about as thick as two fingers.) Ply your single when you’re done.
How do the three different techniques look when you compare them? How do they look different from last month’s spinning?This month’s FOTM is spinning orange and a yellow braid. Sorry the instructions for this month are a little long.
The suggestion is to split each braid into three parts so you have six braids: three of orange and three of the yellow.
Both orange and yellow are next to each other on the color wheel, this exercise can give you a sense of how side by side colors on the color wheel look when they are spun together. (Hint: this is usually a pretty harmonious look and doesn’t result in muddy colors.)
For the first braid, spin the orange all the way and then spin yellow all the way. Ply the singles together for a barber pole look. (You can spin fine or thick. Fine will give you more of a heathered effect if you knit with it and thicker gives more of a tweed look.) Ply the single on itself.
For the second set of orange and the yellow braids, try blending them together either with hand cards or by hand. If you need a reminder on blending colors without tools here’s a short tutorial on how to do this https://sweetgeorgiayarns.com/no-tools-no-problem-no-tool-fibre-preparation-for-spinners/#:~:text=Hold%20one%20end%20of%20the,or%20roll%20into%20a%20rolag. Just go to the “Batts & Rolags” section about halfway down the page. Spin the blended fiber and ply it when you’re done.
For the final set of orange and the yellow, try combo drafting the two colors together. (Here’s a video that you can review if you need a reminder: https://www.youtube.com/watch?v=HDDP4FUy3VA – she says do really thin. The guidance I was given when I was taught was to keep the two pieces about as thick as two fingers.) Ply your single when you’re done.
How do the three different techniques look when you compare them? How do they look different from last month’s spinning?
APRIL 2026
This month’s FOTM is spinning white and a blue braid
The suggestion is to split each braid into three parts so you have six braids: three of white and three of the blue.
For the first braid, spin the white all the way and then spin blue all the way. Ply the singles together for a barber pole look. (You can spin fine or thick. Fine will give you more of a heathered effect if you knit with it and thicker gives more of a tweed look.) Ply the single on itself.
For the second set of white and the blue braids, try blending them together either with hand cards or by hand. (Start using less than half the white as of the blue– any neutral color will overwhelm a braid, though it may not be as noticeable as with a solid braid as in this exercise.) If you need a reminder on blending colors without tools here’s a short tutorial on how to do this https://sweetgeorgiayarns.com/no-tools-no-problem-no-tool-fibre-preparation-for-spinners/#:~:text=Hold%20one%20end%20of%20the,or%20roll%20into%20a%20rolag. Just go to the “Batts & Rolags” section about halfway down the page. Spin the blended fiber and ply it when you’re done.
For the final set of white and the blue, try combo drafting the two colors together. (Here’s a video that you can review if you need a reminder: https://www.youtube.com/watch?v=HDDP4FUy3VA – she says do really thin. The guidance I was given when I was taught was to keep the two pieces about as thick as two fingers. Make sure your white pieces are half the width or less than that of the blue piece when you’re drafting, just like how you reduced the white you mixed in on the prior exercise.) Ply your single when you’re done.
Obviously you’re going to have some extra white fiber with these exercises– have fun experimenting with any fiber you have or hold onto it if you want to do your own thing with some of the other FOTM colors or something else in the future.
How do the three different techniques look when you compare them? How do they look different from last month’s spinning?
MARCH 2026
This month’s FOTM is spinning gray and a purple braid.
The suggestion is to split each braid into three parts so you have six braids: three of gray and three of the purple. (You might want to divide this one vertically so you get more color breaks with the purple.)
For the first braid, spin the gray all the way and then spin purple all the way. Ply the singles together for a barber pole look. (You can spin fine or thick. Fine will give you more of a heathered effect if you knit with it and thicker gives more of a tweed look.)
For the second set of gray and the purple braid, try blending them together either with hand cards or by hand. (Start using less than half the gray as of the purple– any neutral color will overwhelm a braid.) If you need a reminder on blending colors without tools here’s a short tutorial on how to do this https://sweetgeorgiayarns.com/no-tools-no-problem-no-tool-fibre-preparation-for-spinners/#:~:text=Hold%20one%20end%20of%20the,or%20roll%20into%20a%20rolag. Just go to the “Batts & Rolags” section about halfway down the page. Spin the blended fiber and ply it when you’re done.
For the final set of gray and the purple braid, try combo drafting the two colors together. (Here’s a video that you can review if you need a reminder: https://www.youtube.com/watch?v=HDDP4FUy3VA – she says do really thin. The guidance I was given when I was taught was to keep the two pieces about as thick as two fingers. Make sure your gray pieces are half the width or less than that of the purple piece when you’re drafting, just like how you reduced the gray you mixed in on the prior exercise.) Ply your single when you’re done.
Obviously you’re going to have some extra gray fiber with these exercises– have fun experimenting with any fiber you have or hold onto it if you want to do your own thing with some of the other FOTM colors or something else in the future.
How do the three different techniques look when you compare them? How do they look different from last month’s spinning?
FEBRUARY 2026
This month’s FOTM is spinning brown and a braid called Parrot Tulips.
The suggestion is to split each braid into three parts so you have six braids: three of brown and three of Parrot Tulips. (You might want to divide this one vertically so you get more color breaks with the Parrot Tulips.)
For the first braid, spin the brown all the way and then spin Parrot Tulips all the way. Ply the singles together for a barber pole look. (You can spin fine or thick. Fine will give you more of a heathered effect if you knit with it and thicker gives more of a tweed look.)
For the second set of brown and the Parrot Tulip braid, try blending them together either with hand cards or by hand. (Start using less than half the brown as of the Parrot– any neutral color will overwhelm a braid much more quickly and brown even more than other neutrals because of how dark it is.) If you need a reminder on blending colors without tools here’s a short tutorial on how to do this https://sweetgeorgiayarns.com/no-tools-no-problem-no-tool-fibre-preparation-for-spinners/#:~:text=Hold%20one%20end%20of%20the,or%20roll%20into%20a%20rolag. Just go to the “Batts & Rolags” section about halfway down the page. Spin the blended fiber and ply it when you’re done.
For the final set of brown and the Parrot Tulip braid, try combo drafting the two colors together. (Here’s a video that you can review if you need a reminder: https://www.youtube.com/watch?v=HDDP4FUy3VA – she says do really thin. The guidance I was given when I was taught was to keep the two pieces about as thick as two fingers. Make sure your brown pieces are half the width or less than that of the Parrot Tulips piece when you’re drafting, just like how you reduced the brown you mixed in on the prior exercise.) Ply your single when you’re done.
Obviously you’re going to have some extra brown fiber with these exercises– have fun experimenting with any fiber you have or hold onto it if you want to do your own thing with some of the other FOTM colors or something else in the future.
How do the three different techniques look when you compare them? How do they look different from last month’s spinning?
JANUARY 2026
This month’s FOTM is spinning black and a braid called Mardi Gras.
The suggestion is to split each braid into three parts so you have six braids: three of black and three of Mardi Gras. (You might want to divide this one vertically so you get more color breaks with the Mardi Gras.)
For the first braid, spin the black all the way and then spin Mardi Gras all the way. Ply the singles together for a barber pole look. (You can spin fine or thick. Fine will give you more of a heathered effect if you knit with it and thicker gives more of a tweed look.)
For the second set of black and the Mardi Gras braid, try blending them together either with hand cards or by hand. (Start using less than half the black as of the Mardi Gras– any neutral color will overwhelm a braid much more quickly and black even more than other neutrals because of how dark it is.) If you need a reminder on blending colors without tools here’s a short tutorial on how to do this https://sweetgeorgiayarns.com/no-tools-no-problem-no-tool-fibre-preparation-for-spinners/#:~:text=Hold%20one%20end%20of%20the,or%20roll%20into%20a%20rolag. Just go to the “Batts & Rolags” section about halfway down the page. Spin the blended fiber and ply it when you’re done.
For the final set of black and the Mardi Gras braid, try combo drafting the two colors together. (Here’s a video that you can review if you need a reminder: https://www.youtube.com/watch?v=HDDP4FUy3VA – she says do really thin. The guidance I was given when I was taught was to keep the two pieces about as thick as two fingers. Make sure your black pieces are half the width of the Mardi Gras piece when your drafting, just like how you reduced the black you mixed in on the prior exercise.) Ply your single when you’re done.
Obviously you’re going to have some extra black fiber with these exercises– have fun experimenting with any fiber you have or hold onto it if you want to do your own thing with some of the other FOTM colors or something else.
How do the three different techniques look when you compare them? (I love the stained glass look you get with the first exercise.) How do they look different from December’s spinning?
DECEMBER 2025
This month’s FOTM is spinning two complimentary colors: red and green. (Sorry, I couldn’t help myself.)
The suggestion is to split each braid into three parts horizontally so you have six shorter braids: three of red and three of green.
For the first braid, spin the red all the way and then spin the green all the way. Ply the red and green singles together for a barber pole look. (You can spin fine or thick. Fine will give you more of a heathered effect if you knit with it and thicker gives more of a tweed look.)
For the second set of red and green braids, try blending them together– either with hand cards or by hand. (If you haven’t blended without tools here’s a short tutorial on how to do this https://sweetgeorgiayarns.com/no-tools-no-problem-no-tool-fibre-preparation-for-spinners/#:~:text=Hold%20one%20end%20of%20the,or%20roll%20into%20a%20rolag. Just go to the “Batts & Rolags” section about halfway down the page.) Spin the blended fiber and ply it when you’re done.
For the final set of red and green braids, try combo drafting the two colors together. (If you haven’t done this before, here’s a video that shows you how: https://www.youtube.com/watch?v=HDDP4FUy3VA – she says do really thin. The guidance I was given when I was taught was to keep the two pieces about as thick as two fingers.) Ply your single when you’re done.
How do the three different techniques look when you compare them? Your colors probably look a little muddy, especially the more you mixed them– this happens when complementary colors are combined. (Red with green, orange with blue, or yellow with purple.)
NOVEMBER 2025
This month’s FOTM is a vertical braid of Merino wool called Amethyst with blues, pinks, and purples.
Like last month, the suggestion is to split your fiber in half horizontally so you have two shorter braids.
Step 1
For the first braid, spin a fine single with twice the twist you’d use for a balanced yarn. (One trick is to spin a balanced yarn and then run your single through your wheel a second time with the same amount of twist onto a new bobbin.) You can spin from the fold or from one end to the other, whichever effect you found you preferred in September and October.
For the second braid, spin a more chunky single with twice the twist you’d use for a balanced yarn. As with the first braid, you can spin from the fold or from one end to the other.
Or if you prefer, spin each braid the same weight, but spin one from the fold and the other from end to end, still making sure to use twice the twist.
Step 2
Cable ply each braid with itself. (Do a 2 ply ball pull spinning the opposite direction you spun your singles, then do a second 2 ply ball pull spinning the same direction you spun the original singles.)
Now compare your cable plyed braids with each other and then with September’s and October’s Fiber of the Month spinning/projects– how did your technique change how the cable ply looked? How does a cable ply change the impact you got and how a verticle braid looks when spun when compared with 2 ply spinning?
OCTOBER 2025
This month’s FOTM is a vertical braid of Merino wool called Tidal Waves with blues and purples.
This month’s instructions are really close to last months, but this time try to spin chunky, or as thick as is comfortable for you. Like last month, the suggestion is to split your fiber in half horizontally, so you have two shorter braids. For the first braid, spin it from one end to the other. For the second braid, spin it from the fold. (You’re not going to get your single as chunky with this method (but do your best). Ply each half with itself and see the difference in how they look. If you’re feeling extra, try knitting, crocheting, or doing a sample of some other fiber art to see how it looks when it’s being used in a project. Now compare them with September’s Fiber of the Month spinning/projects– how does spinning something thick or thin make a difference in the color impact you got?
SEPTEMBER 2025 – This month’s FOTM is a vertical braid of Merino wool called Campfire with reds, yellows, oranges, and browns.
Vertical braids can give you very different effects than the more common space dyed braids that have horizontal color changes.
To get a chance to see how you can get different looks depending on how you spin, this month the suggestion is to split your fiber in half horizontally so you have two shorter braids. You’ll be doing something different with each half, but try to spin as fine as you can for both halves this month.
For the first braid, spin it from one end to the other.
For the second braid, spin it from the fold.
Ply each half with itself and see the difference in how they look. If you’re feeling extra, try knitting, crocheting, or doing a sample of some other fiber art to see how it looks when it’s being used in a project.